How To Look Good In Photos Every Single Time
This post is for all my girls who don’t hate taking pictures, they just hate how their pictures always turn out. I see you, and I feel you because, girl, I have been there.
Imagine taking your time to get dressed. Your hair looks good, your makeup is eating, your outfit is slaying… and then the pictures come out looking like a complete mess.
All that work? Gone with the wind.
I don’t know about you, but one of the reasons I put so much effort into my appearance when I’m going out is because of the pictures.
So imagine spending hours styling your outfit, beating your face to perfection, and then not getting even one good picture to show for all your hard work.
The pain. The heartbreak. The disrespect.
I can’t even remember how many times I argued with my friends and family members, because I genuinely thought they just didn’t know how to take my pictures properly.
It completely destroyed my confidence.
Whenever someone suggested taking a picture of me, I would immediately start backing away because because, in my mind, I already knew how it was going to turn out. And don’t even get me started on group pictures. A complete nightmare.
Everyone would look good except me. Talk about a confidence crusher.
Eventually, I concluded that I was simply not photogenic.
But the height of it all was on my 22nd birthday.
The height of it was on my 22nd birthday. I hosted a dinner party with my friends and made sure I looked my absolute best because, hello, I was the birthday girl. But guess what? I didn’t get a single good photo to post.
Y’all, I cried my eyes out. I was so hurt that I called my best friend, who was out of town at the time, sobbing uncontrollably.
She is a photographer, and after listening to me complain about how terrible my pictures looked, she explained why they might not have been turning out the way I wanted, and what I could do differently moving forward.
And that conversation honestly changed the way I approached taking pictures.
I started realizing that looking good in photos is not just about having a nice outfit, good makeup, or an expensive camera.
Things like knowing your angles, understanding lighting, learning how to pose, and simply figuring out what works best for you can make a huge difference.
So, if you have ever looked at a group photo and thought, “Why does everyone look good except me?” or spent hours getting ready only to end up with zero pictures worth posting, this one is for you.
Here are some of the most helpful tips I have learned on how to look good in photos.
Let’s get into it.
1. Get Comfortable In Your Own Body
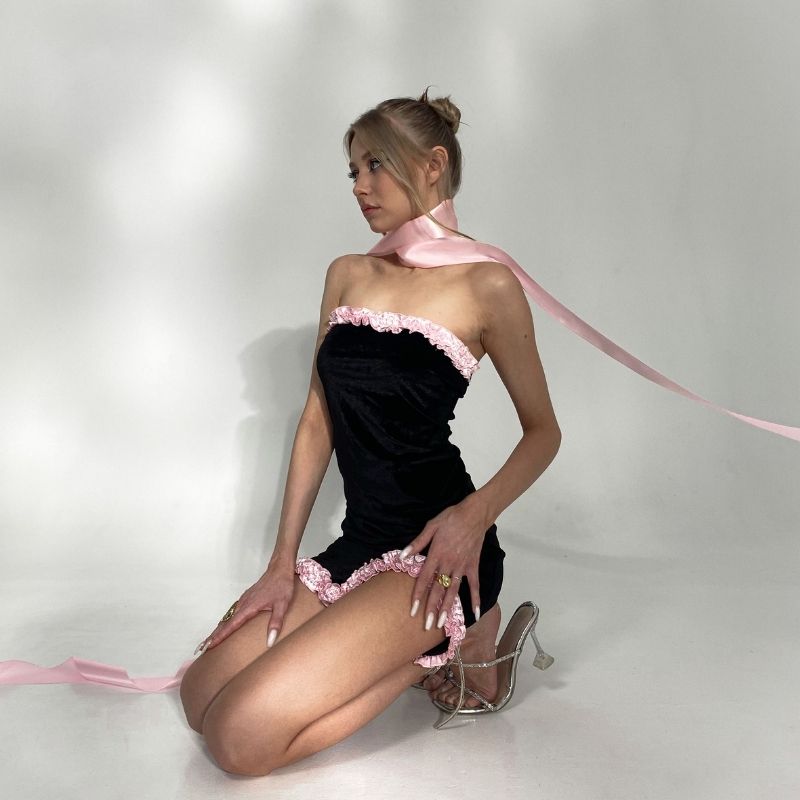
The first tip I want to share with you today on how to look good in a photo is to get comfortable in your own body.
Girl, listen. When you are not comfortable in your body, it shows in your photos: we can tell, honey. You tend to look stiff, tense, or overly conscious.
One way I have learned to work on this is by posing in front of the mirror. It doesn’t matter whether I’m dressed up or just at home in my regular clothes. I experiment with different poses, angles, facial expressions, and ways of standing to see what feels natural to me.
Another thing I do is walk around the house in my birthday suit and spend some time looking at myself in the mirror.
I know it’s a little unconventional, but there is something about becoming familiar with your body exactly as it is that can make you feel much less self-conscious about being photographed.
Take your time. Look at yourself in the mirror and appreciate your body and the features that make you, you.
It doesn’t matter what your size, shape, or skin looks like. Learn to love yourself as you are. This is the first step on how to look pretty and building self confidence.
You can even say confidence affirmations while looking at the mirror, especially in your birthday suit.
The more you see yourself, the more you learn what you like about yourself, and the less likely you are to freeze up when a camera comes out.
2. Find Your Best Lighting
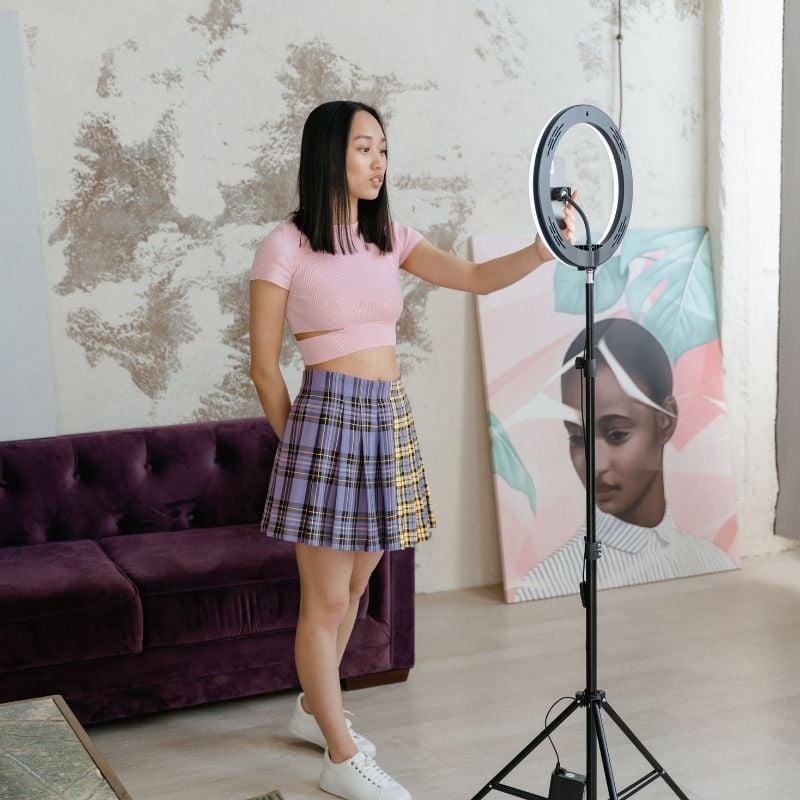
Girl, I cannot stress this enough: when it comes to how to look good in photos, good lighting can make or break a photo. You can have the perfect outfit, makeup, hair, and pose, but if the lighting is bad, your picture can still come out looking nothing like you expected.
When taking pictures, try to face your light source rather than having the light directly behind you.
Personally, I prefer natural light over artificial lighting. Natural light from a window is one of the easiest ways to get a soft, flattering photo, especially when the sunlight isn’t too harsh.
If you want to use artificial lighting, get a high-quality ring light. It might cost a couple more dollars, but it’s totally worth it.
If you are taking pictures outdoors, avoid standing directly under strong midday sunlight. It can create harsh shadows on your face and make you squint. Instead, try taking your pictures in open shade or during the softer light of early morning or late afternoon.
Also, be careful with overhead lighting. Light coming directly from above can create unflattering shadows under your eyes, nose, and chin, making your face look harsh.
And please, don’t be afraid to move around until you find the light that works for you. Turn toward the window, step closer to it, move away from it, or change your position until your face is evenly lit.
The goal is to avoid strong shadows across your face and find lighting that shows your features clearly without washing them out or making them look overly harsh.
Check the lighting before you start posing. Take a quick test photo first. You might discover that moving just a few steps can completely transform the picture.
3. Discover Your Best Side And Angles

My best friend actually gave me this advice, and ever since I implemented it, my photo game went from 0 to 100. If you want to know how to make yourself look good in photos, then know your best angles and your best side, honey.
For me, it is my right side, which is why I cannot take a picture without highlighting it. Once I found out how good my right side looked in photos, I started paying more attention to how I positioned my face and body so that side was more visible.
And no, this doesn’t mean you have to completely hide the other side of your face. It is simply about figuring out which angles make you feel the most confident and bringing them into your photos more often.
The easiest way to discover your best side is to experiment.
Stand in front of a mirror or take several photos of yourself from different angles. Turn your face slightly to the left, then to the right. Try looking straight at the camera, tilting your head slightly, and changing the height of the camera. Don’t just take one photo and call it a day; take several and compare them.
Pay attention to how your face looks from different angles, how the light hits your features, and which positions make you feel the most confident. You might be surprised by what you discover.
Also, don’t forget about your body angles. Turning your body slightly instead of facing the camera completely straight can create a more flattering silhouette. You can also shift your weight onto one leg, slightly angle your shoulders, or turn your hips away from the camera.
Once you figure out your go-to side and angles, practice them until they become second nature. That way, when someone suddenly pulls out a camera, you won’t have to panic and wonder what to do. You already know your angles, babe.
4. Master The Art Of Posing
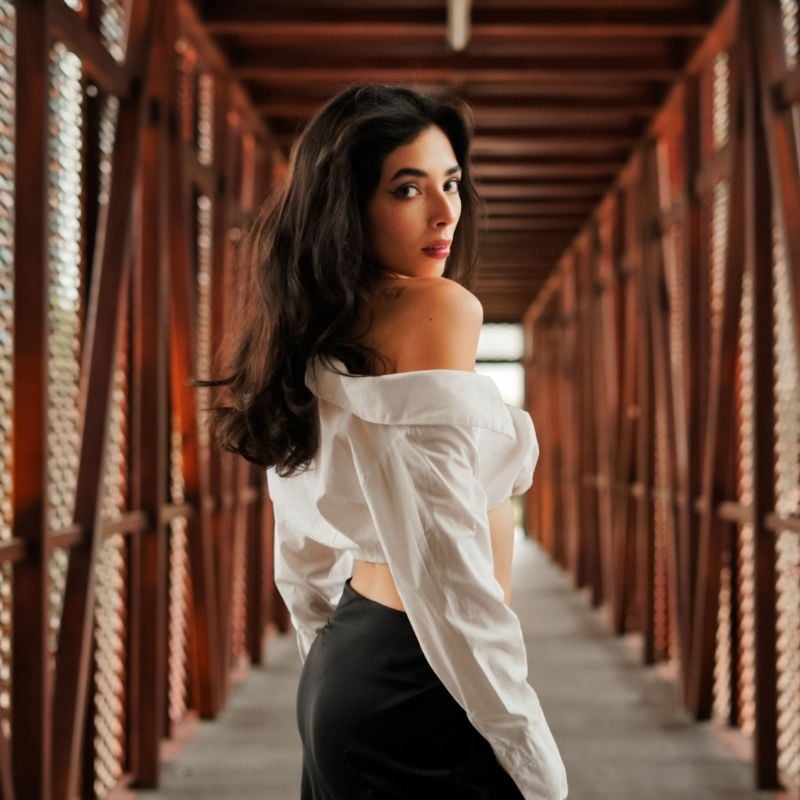
If you want to know how to look good in pictures, learning how to pose is definitely one of the things that can take your photos from meh to okayyy, I see you.
The easiest way to learn is to study people whose pictures you love. Make a list of your favourite fashion influencers, celebrities, and fashion icons, basically, women whose photos, poses, and overall style you admire.
For me, I love Bella Hadid, Kylie Jenner, and Olandria. I go through their social media pages, save pictures that catch my eye, and study what they are doing. How are they standing? What are they doing with their hands? Which way is their face turned? Where are they looking? How are they positioning their body?
Then comes the fun part: practice recreating those poses.
As I mentioned earlier, know your best angles and your favourite side and use them to your advantage.
For example, let’s say you find a pose you love from one of your favourite celebrities, but your left side is your best side. Recreate the pose while highlighting your left side. The same pose can look completely different on different people, so make adjustments until you find what works for your body and face.
And please, don’t overthink it. You already know your angles, you have practiced your poses, and now it’s time to relax and have fun with it. Loosen your body, take a breath, and strike a pose.
The more you practice, the more natural posing will become. Eventually, you won’t have to think so hard about what to do when a camera comes out, you will just know.
5. Use Your Background To Your Advantage
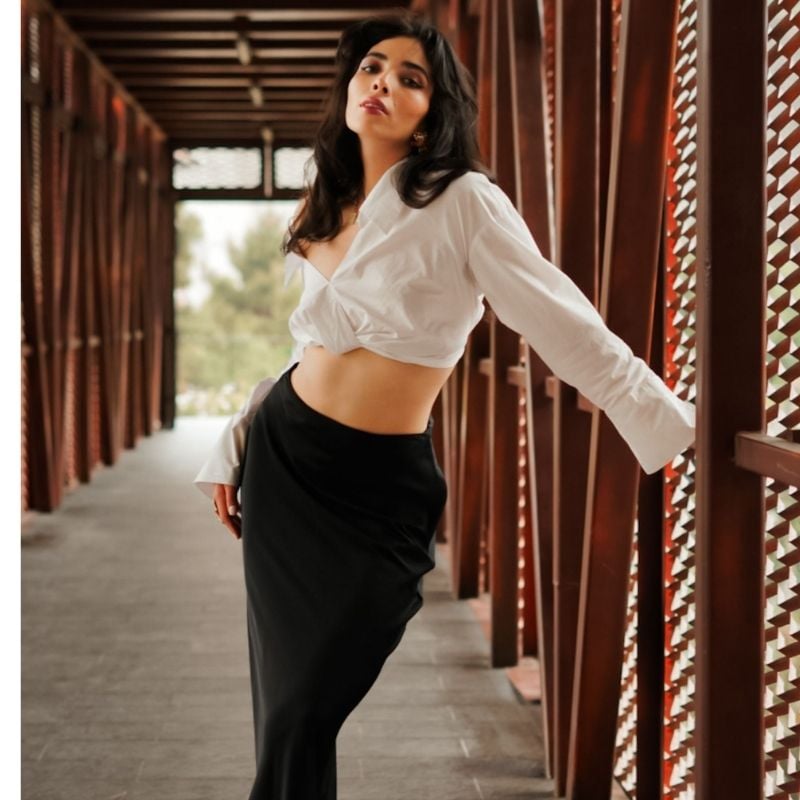
Your background matters more than you think. A messy or distracting background can easily take attention away from you.
Before you start posing, pay attention to what’s happening behind you. Look around and make sure there isn’t anything distracting in the frame, like random clothes, clutter, trash cans, or people standing awkwardly in the background. You want the focus to be on you, not on the mess behind you.
But don’t think your background has to be boring. Learn to interact with your surroundings.
Instead of simply standing in one spot, lean against a wall, sit on a bench, walk through a doorway, hold onto a railing, or casually walk past the camera. Giving your body something to interact with can make your photos feel much more natural and effortless.
Another thing I learned from a photographer is to pay attention to depth. If you are taking a picture against a completely flat wall, try not to stand directly against it. When you and your background are on the same plane, the picture can sometimes look flat and lack dimension.
Instead, create some distance between yourself and the background. Take a few steps away from the wall or position yourself somewhere with more depth, such as a hallway, staircase, doorway, or outdoor space.
This creates more separation between you and your surroundings and can make the photo look much more interesting.
You can also pay attention to composition, which is simply how everything in the photo is arranged. One popular technique I recently learnt about is the rule of thirds.
If you turn on the grid on your phone camera, you will notice that it divides the screen into nine sections. Instead of always placing yourself directly in the center, try positioning yourself along one of the vertical lines or near where the lines intersect.
For example, if you are looking toward the right side of the frame, you can position yourself slightly toward the left and leave some space in front of you. This can make the photo feel more balanced and give your gaze somewhere to go.
Of course, the rule of thirds isn’t something you have to follow every single time. It is a guideline, not a strict rule. Centered photos can look just as good, especially when you are working with a symmetrical background.
6. Know Where To Look

Girl, where you are looking in a photo can completely change the way you look. When it comes to how to look good in photos, don’t underestimate the power of your eyes.
When someone points a camera at you, your first instinct might be to stare directly into the lens. And there is absolutely nothing wrong with that, but you don’t have to look at the camera in every single picture. Sometimes, looking slightly away can make the photo look so much better.
If you are looking directly into the camera, here is a little trick I learned: don’t think of the camera as a camera.
One tip I learnt was to loosen your body by dancing and stare at the camera like you are looking into your partners eyes.. lol corny I know. but it can make your gaze feel much more natural and confident.
You can also experiment with different directions. Look slightly to the side, look down, look over your shoulder, or look at something in the distance. If you are taking an action shot, let your eyes follow whatever you’re doing instead of forcing yourself to look at the camera.
For selfies, make sure you are looking at the camera lens, not at your own face on the screen. I know it is tempting to stare at yourself while taking the picture, but looking into the lens creates better eye contact with whoever is viewing the photo.
The key is to switch it up. Some photos can have you looking directly into the camera, while others can have you looking away. Play around with different eye directions until you find what feels most flattering for you.
And remember, you don’t always have to look at the camera to look good in photos. As a matter of fact, sometimes the surprisingly best pictures are the ones taken when you are unaware.
7. Perfect Your Facial Expressions
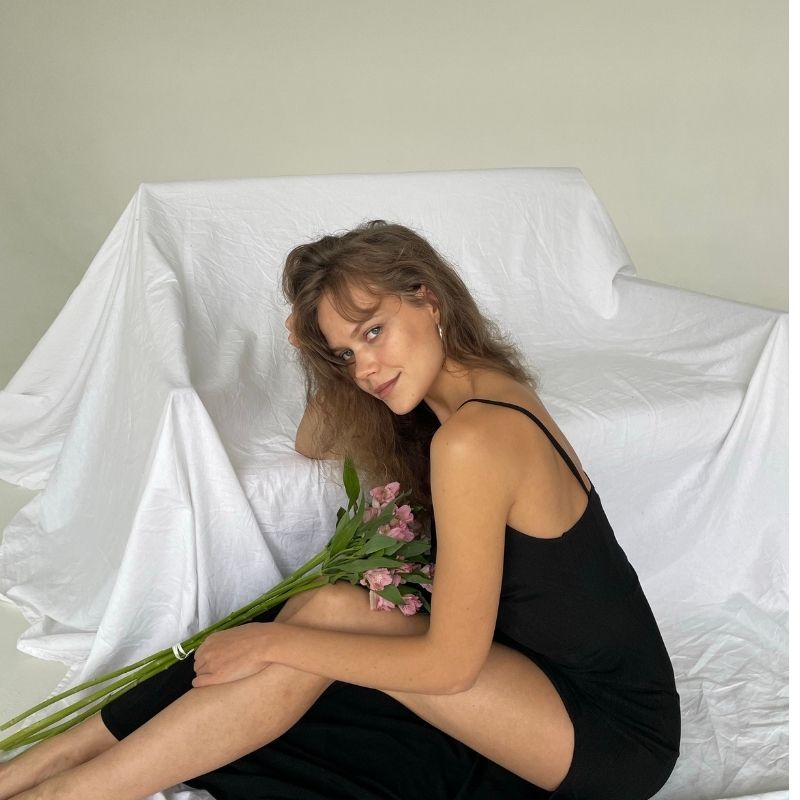
If you are like me and look awful in passport photos, and you are searching for how to look good in passport photos, then don’t play with this tip.
One major thing I have learned is that your facial expression can completely change how you look in a picture. And no, I’m not saying you should force a huge smile in every photo. In fact, the best expression depends on the type of picture you are taking.
For everyday photos, don’t be afraid to experiment with different expressions. Try a soft smile, a subtle smile with your lips closed, a full smile showing your teeth, or even a more serious expression. You want to find expressions that feel natural to you rather than forcing your face into a particular look.
If you are taking a passport photo or another photo where you are required to keep a neutral expression, things are a little different. You want to keep your face relaxed rather than looking tense or overly serious. Relax your jaw, drop your shoulders, and avoid clenching your teeth. Take a breath before the photo is taken and let your face settle naturally.
And please, don’t force your smile. You know that awkward smile where you can practically feel yourself trying to smile? Yeah, that! We don’t want that.
To smile, try to think happy thoughts; this will give you a natural, joyful smile that feels genuine and inherently beautiful.
Another little trick is to practice your expressions in front of a mirror. Try smiling with your teeth, smiling without your teeth, and relaxing your face completely. Take a few pictures while doing this so you can see which expressions you actually like on camera.
You don’t need to have one “perfect” facial expression. Different pictures call for different moods. Learn what works for you, relax your face, and let the expression match the moment.
8. Pay Attention To Your Chin And Neck
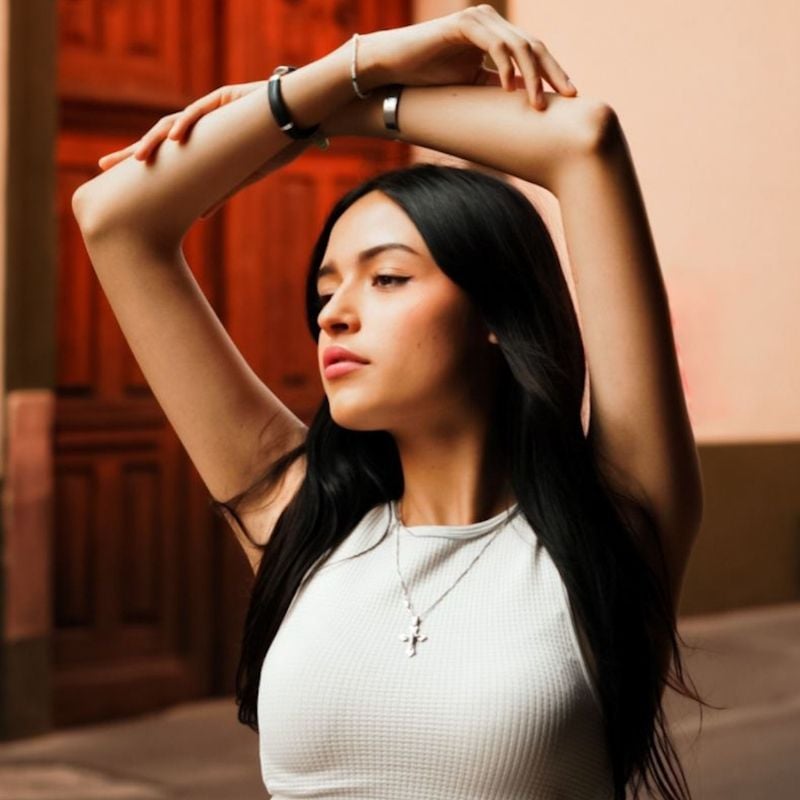
Something as small as what you do with your chin and neck can make a huge difference in a photo. If you are learning how to look good in photos, this is one of those little details you definitely want to practice.
A common mistake is pulling your chin too far back when someone takes your picture. I know the instinct is to tuck your chin in because you don’t want to look like you are sticking your neck out, but pulling it too far back can actually make your face look less defined.
Instead, try this: slightly push your face forward and then gently angle your chin down. Keep it subtle; you don’t want to look like you are deliberately stretching your neck. What you are doing is creating a little more definition around your jaw and neck.
Your posture matters here too. Keep your shoulders relaxed and your neck elongated instead of hunching forward. Imagine there is a string gently pulling the top of your head upward. This helps you look more poised and prevents your neck from disappearing into your shoulders.
You can also experiment with turning your head slightly to one side rather than keeping it completely straight toward the camera. Remember those best angles we talked about earlier? This is another opportunity to use them.
Practice these small adjustments in front of a mirror and take a few test photos. You will quickly notice which chin and neck positions work best for you.
9. Give Your Hands Something To Do
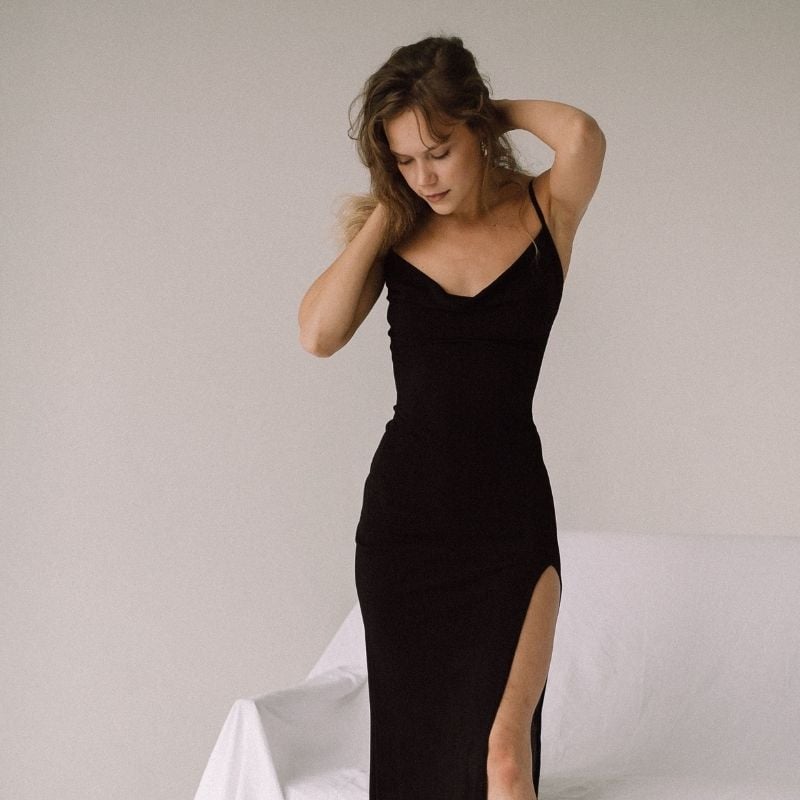
There is absolutely no reason on this green earth why your hands are lazying around in your pictures. Give them something to do.
You see, the fastest ways to make a photo look awkward is not knowing what to do with your hands.
You know that moment when the camera comes out and you suddenly think, “Wait, where am I supposed to put my hands?” Yeah, we have all been there.
Instead of letting your arms hang stiffly by your sides, give your hands a little job. Touch your hair, adjust your sunglasses, hold your bag, play with your necklace, put one hand in your pocket, touch your dress, or gently touch your face.
You can also use your surroundings. Lean on a railing, hold onto a chair, touch a wall, hold a flower, or grab your coffee cup. This can make your pose feel more authentic and chic because your hands are not just floating around with no purpose.
Also, keep your hands relaxed. Avoid clenching your fists or holding your fingers unnaturally stiff.
10. Use Movement To Create More Natural Photos

Start moving, walk, turn, fix your hair, adjust your outfit, or look around. Sometimes the best photos happen when you are not actually trying to pose.
If you tend to feel awkward or stiff whenever a camera comes out, adding a little movement can completely change the way your pictures turn out.
Instead of standing still and trying to figure out the “perfect” pose, just get busy.
Take a few steps toward the camera, walk past it, turn around and look back, play with your hair, adjust your jacket, fix your dress, or simply look around as if you weren’t aware that someone was taking your picture.
The trick is to keep the movement natural.
You don’t need to start doing anything dramatic just because there is a camera in front of you. Do something you would normally do and let the photographer capture you while you’re doing it.
This tip on how to look good in photos, this is very helpful because movement takes some of the pressure off.
You are no longer standing there thinking, “ Oh shit, What do I do with my face? What do I do with my hands? Do I look okay?” Instead, you are focused on the movement, which can help you relax and look more natural.
Some of the best shots will happen in between movements, when you are turning, laughing, walking, or adjusting something.
So the next time you feel like you don’t know how to pose, don’t pose at all. Just start moving and let the camera catch you in the moment. Trust me, it works wonders.
11. Understand Your Camera and Lens
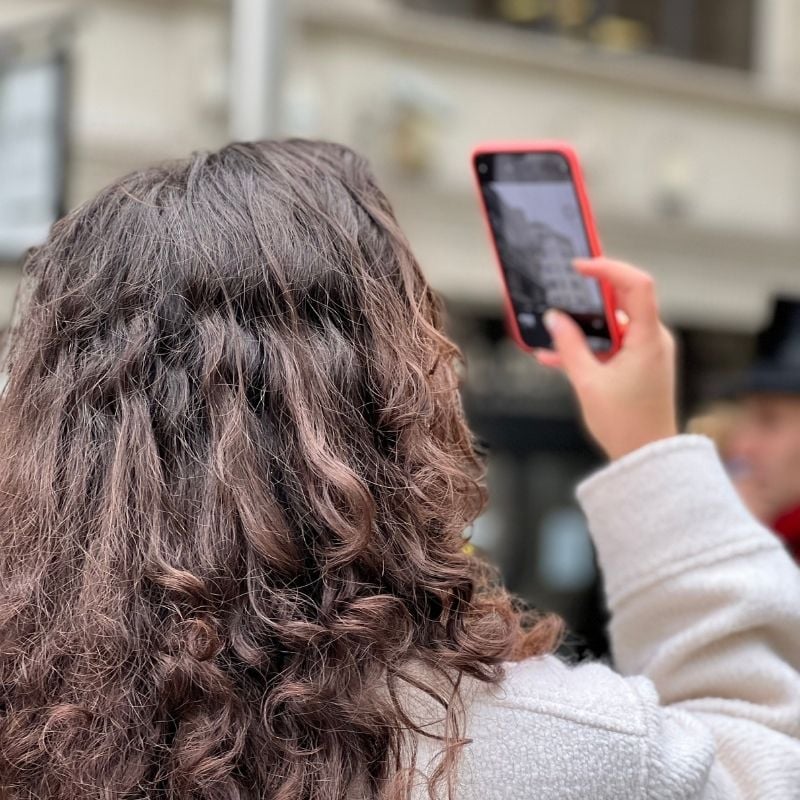
I’m going to hold your hands when I say this: you don’t need an expensive camera to take a good picture, but you do need to understand the camera you are using. Your phone camera has a huge impact on how your face and body appear in photos.
PAY ATTENTION TO YOUR LENS. Notice how I wrote that in capital letters. Phone cameras, especially wide-angle lenses, can distort your features when you hold the camera too close. This can make whatever is closest to the lens, like your nose or forehead, appear larger than it actually is.
That’s why the distance between you and the camera matters. Instead of putting the phone right in front of your face, give yourself some distance and, when possible, use a slightly longer focal length or zoom in a little. This can produce a more natural-looking perspective.
Your phone may also have different lenses, such as ultra-wide, standard, and telephoto. Take some time to test them and see how each one makes you look. You might discover that one lens gives you a much more flattering perspective than another.
Also, don’t automatically assume that the highest zoom is the best. Digital zoom can reduce image quality, so if you need to zoom, use your phone’s optical or higher-quality telephoto option when available.
And please, for the love of God, clean your camera lens before taking your pictures. It sounds ridiculously simple, but fingerprints and smudges can make your photos look hazy, soft, or less sharp.
Most importantly, get familiar with your camera. Take test photos in different lighting, from different distances, and with different lenses. The more you understand how your camera responds, the easier it becomes to work with it instead of wondering why your pictures keep coming out differently from how you look in the mirror.
12. Avoid Holding the Camera Too Close
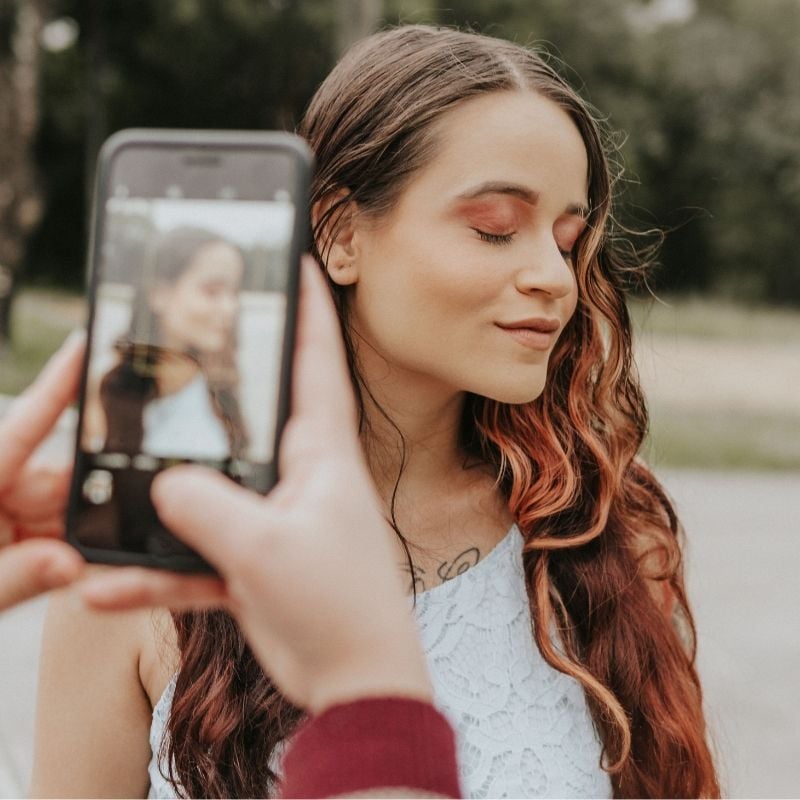
I mentioned this earlier: distance matters when it comes to how to look good in a picture. Holding your phone too close to your face can distort your features, especially when you are using a wide-angle lens.
So, instead of putting your phone right up against your face, take a step back and give the camera some space.
This is super duper important when taking selfies. If you have the option, try extending your arm a little farther away from your face or using a selfie stick.
You can also place your phone farther away and use a timer if you are taking a full-body photo.
And if you need to get a closer-looking shot, it’s often better to move the camera farther away and zoom in slightly rather than keeping the phone extremely close to you.
Basically, don’t let the camera get all up in your face, girl. Give it some room and let the lens do its thing.
13. Use The Camera Grid To Improve Framing
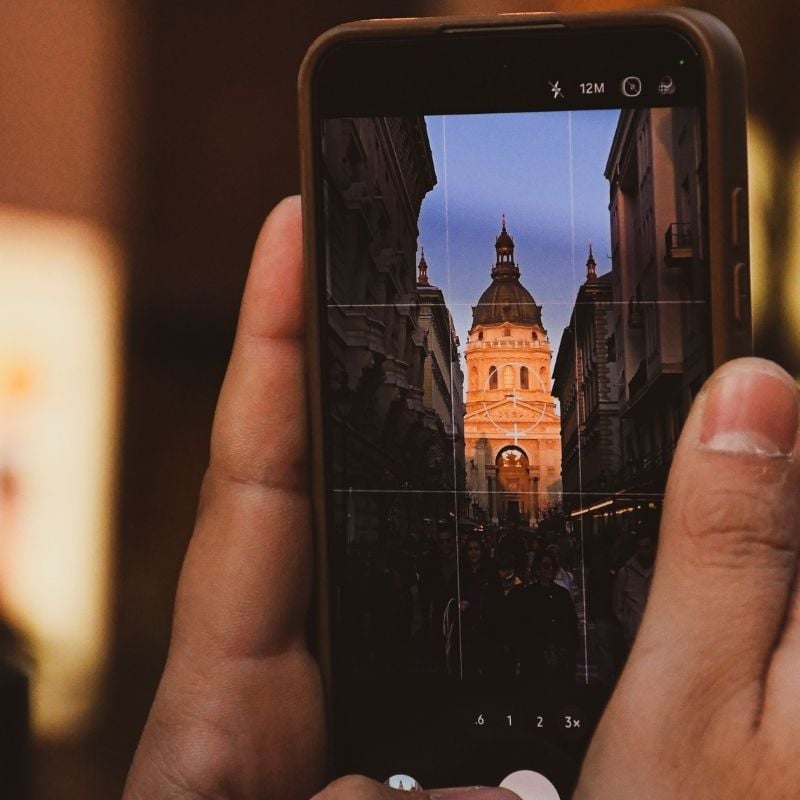
Can you recall when I talked about the little grid that appears on your phone camera? Well, girl, this is where it actually comes in handy.
The camera grid is basically a set of lines that divides your screen into nine sections. It gives you a visual guide for positioning yourself and other elements in your photo, instead of just randomly pointing your camera and hoping for the best.
One simple technique you can use with the grid is the rule of thirds. Instead of always placing yourself directly in the center of the frame, try positioning yourself along one of the vertical lines or near one of the points where the lines meet.
For example, if you are looking or facing toward the left side of the frame, you can position yourself slightly toward the right side and leave some space in front of you. This gives your photo a little more breathing room and can make the composition feel more intentional.
The grid is also useful for keeping your photos straight. If you are taking an outfit picture or a full-body photo, you can use the horizontal lines to make sure your phone isn’t tilted and that things like walls, doors, and floors look straight.
The point isn’t to make every photo look like it came straight out of a photography textbook. It’s simply about being more intentional with where you place yourself and what you include in the frame.
So before you hit that shutter button, take a quick look at your grid, check your positioning, make sure your frame is straight, and CLICK.
14. Know When to Use Portrait Mode
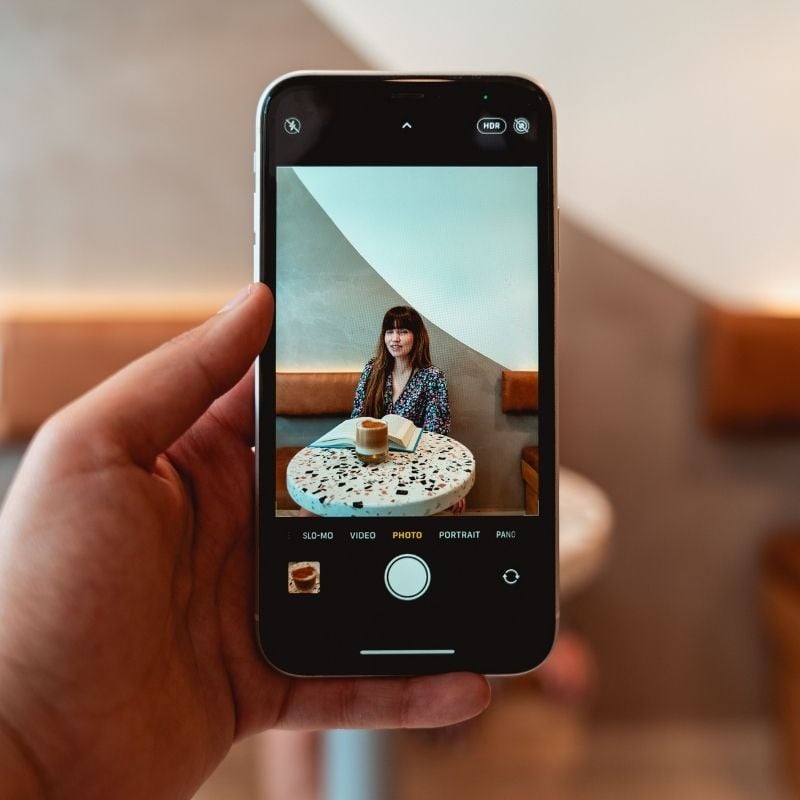
Portrait mode can be your best friend when you know how to use it. It creates that beautiful background blur that makes you stand out and gives your photos a more polished, professional look.
But here is the thing: portrait mode is not automatically better for every picture. Knowing when to use it can make a big difference.
Portrait mode works well when you are taking close-up portraits, beauty shots, or pictures where you want the attention to be on your face. The blurred background helps separate you from everything happening behind you, making you the obvious focus of the photo.
It can also be great when your background is a little busy but you don’t want it competing with you. A little blur can help soften those distractions.
However, be careful when you are taking full-body or outfit pictures.
Depending on your phone, portrait mode can sometimes blur parts of your hair, clothes, hands, or other objects around you in a way that looks weird. If the background is an important part of the picture, regular photo mode may actually look better.
The same goes for group photos. If several people are standing at different distances from the camera, portrait mode may not separate everyone from the background properly.
So before you automatically switch to portrait mode, look at the photo you are trying to create.
Do you want the background to disappear and the focus to be completely on you? Go for it. Do you want to show off your outfit, location, or surroundings? Regular photo mode might be the better choice.
15. Take More Photos Than You Think You Need

You should be taking a minimum of 10 photos; stick with me. Taking as many photos as you can will save you from ending up with no good photos at all.
You can easily take 20 pictures, keep seven, and end up posting only three. It sounds crazy, but that’s just the way it is.
Sometimes, it is not even your face that is the problem. It could be your hair sitting weirdly, an awkward body position, the way your outfit is sitting, a strange facial expression, or maybe something in the background doesn’t look right.
Girl, there are so many reasons why only a few pictures make it to the gram.
That is why you shouldn’t put too much pressure on getting the perfect shot on the first try. Change your pose, switch up your facial expression, turn your body slightly, move your hands, look in different directions, and take several shots while you are doing it.
You might probably stress out the person taking your pictures with all those requests. Get them some ice cream as compensation.
And don’t be afraid to take way more pictures than you think you will need. You can always go back through them later and choose your favourites.